Unlock Sharper Views: A Step-by-Step Guide to Vaonis’ Vespera III and Vespera Pro 2
Introduction
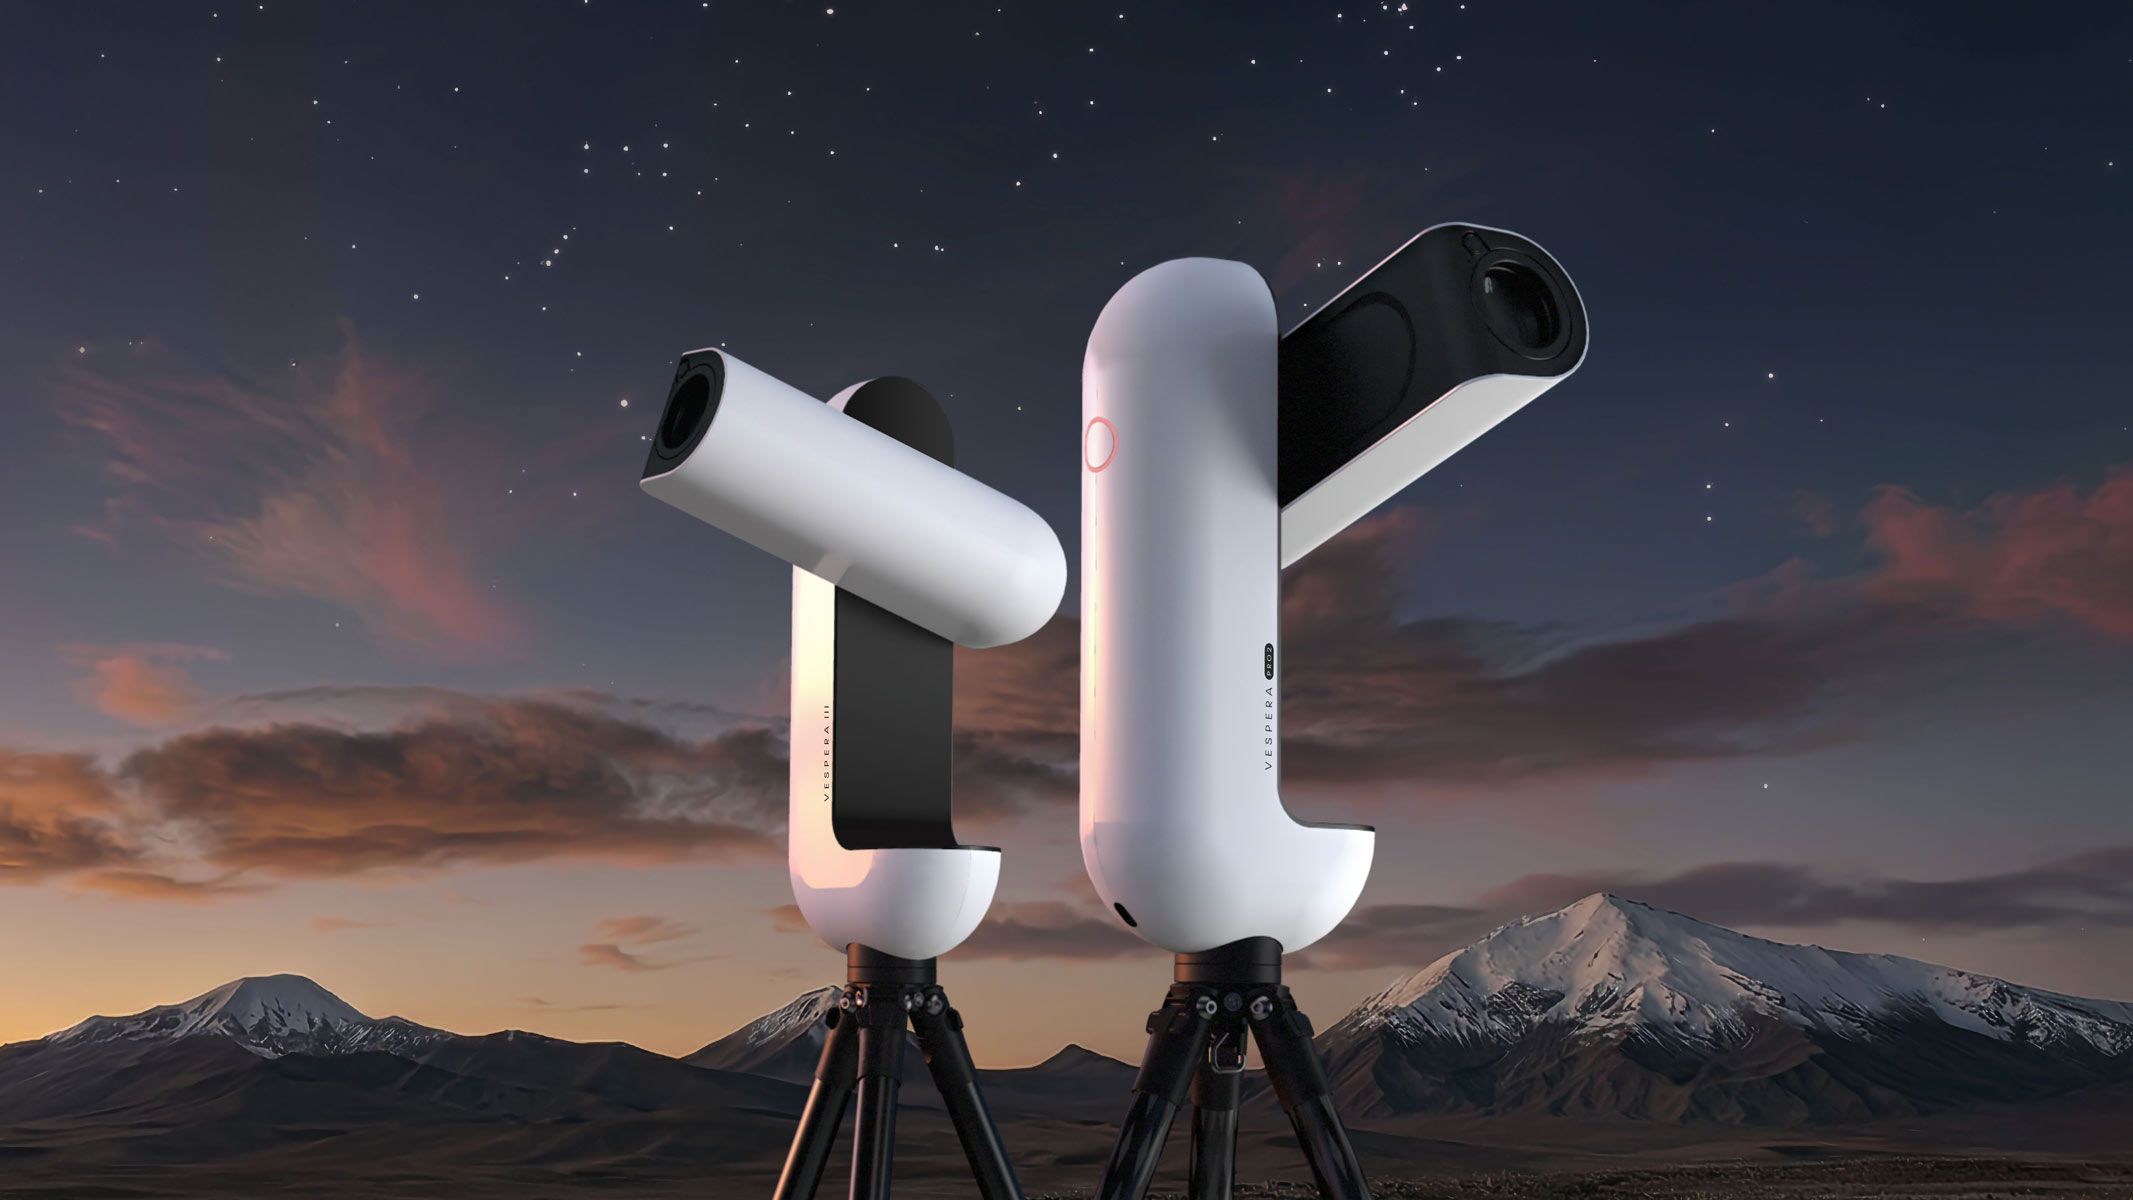
Vaonis has once again pushed the boundaries of consumer astronomy with the launch of the Vespera III and Vespera Pro 2. These telescopes feature a groundbreaking optical design that delivers noticeably sharper images, alongside a host of upgraded features designed to simplify stargazing for both beginners and seasoned enthusiasts. Whether you’re looking to upgrade from an earlier model or dive into the hobby for the first time, this guide will walk you through every step—from understanding what’s new to setting up and capturing your first crisp celestial images. Let’s get started.

What You Need
- A compatible smartphone or tablet (iOS 14+ or Android 10+) with the Vaonis app installed
- Stable Wi-Fi connection (the telescope creates its own hotspot, but internet access may be needed for app updates)
- A clear, dark-sky location with minimal light pollution
- Basic familiarity with stargazing apps (or willingness to learn)
- Optional: A tripod (though the Vespera series includes a built-in base) and a power bank for extended sessions
Step 1: Understand the New Optical Design
The cornerstone of both the Vespera III and Vespera Pro 2 is their refined optical system. Vaonis has re-engineered the lens arrangement to reduce chromatic aberration and improve contrast. The result is a noticeably sharper image across the entire field of view, making deep-sky objects like galaxies and nebulae appear more detailed than ever before. Before diving into setup, take a moment to appreciate this upgrade—it directly affects what you’ll see.
Step 2: Evaluate Your Stargazing Needs
Ask yourself what you want to observe. The Vespera III is ideal for casual users who want automated, effortless viewing of a wide range of objects. The Vespera Pro 2, on the other hand, caters to enthusiasts seeking higher resolution and more manual control over imaging settings. Both models share the new optics, but the Pro version adds advanced features like a faster frame rate sensor and enhanced cooling for long-exposure astrophotography.
Step 3: Compare the Two Models
Here’s a quick breakdown:
- Vespera III: Lightweight, fully automated, perfect for grab-and-go stargazing. Includes built-in autofocus and improved stabilization.
- Vespera Pro 2: Heavier build, professional-grade sensor, support for external filters, and advanced calibration routines. Best for those who want to push image quality to the limit.
Choose based on your budget and ambition. Both are available now from Vaonis.com and select retailers.
Step 4: Purchase and Unbox
Once you’ve selected your model, order it online. Upon arrival, unbox carefully—you’ll find the telescope, power adapter, USB cable, quick-start guide, and a cleaning cloth. Ensure nothing is damaged. Store the original packaging for future transport.
Step 5: Set Up the Telescope
Place the telescope on a flat, stable surface. The built-in base is designed to level itself automatically, but you can manually adjust the feet on uneven ground. Fully extend the base to maximize stability. Connect the power adapter and turn on the device (a blinking LED indicates it’s booting).
Step 6: Connect via the Vaonis App
Download the Vaonis app from the App Store or Google Play. Open the app and select your telescope model. The telescope will create a Wi-Fi hotspot (Vespera-XXX). Connect your phone to that network, then follow the on-screen pairing prompts. The app will guide you through initial calibration, including setting your location and time zone.
Step 7: Calibrate and Align
The Vespera series uses a fully automatic alignment system. The app will ask you to point the telescope to an open part of the sky (no obstructions). It then takes a series of test images to identify stars and calculate its orientation. This process takes about 2–3 minutes. For best results, avoid bright lights or moonlight directly in the field of view.
Step 8: Explore and Capture Sharper Images
With alignment complete, browse the app’s catalog of deep-sky objects. Tap on any target, and the telescope will slew to it automatically. Use the Live View mode to see the image in real time. The new optics will be immediately apparent—stars appear as tight points, and nebulae show richer subtleties. To take a photo, tap the capture button; the app will stack multiple exposures to reduce noise. Experiment with exposure times (5–30 seconds per frame) to find the sweet spot for your target.
Step 9: Optimize for Sharpness
For the sharpest results, follow these advanced tips within the app:
- Use the Autofocus feature after a major temperature change.
- Enable Stabilization if you’re on a slightly unsteady surface.
- Adjust the Gain setting lower for brighter objects to avoid blowing out details.
- On the Vespera Pro 2, engage the Cooling Fan during long sessions to keep the sensor temperature steady.
Step 10: Share and Save Your Images
Once captured, images are saved to your phone’s gallery. Use the app’s built-in editor to adjust brightness, contrast, and color balance. You can also export raw FITS files for deep processing in software like Photoshop or PixInsight. Share your masterpieces with the Vaonis community or on social media—don’t forget to tag #VesperaIII.
Tips Section
- Choose a dark sky location: Even with sharp optics, light pollution reduces contrast. Plan your sessions away from city glare.
- Keep firmware updated: Vaonis periodically releases fixes and new features. Check the app for updates before each use.
- Use a power bank: The telescope runs on AC power; a portable battery (e.g., 20,000 mAh) can extend your session beyond a few hours.
- Experiment with stacking: For faint objects, take 50–100 short exposures and let the app stack them automatically. This produces cleaner images than a single long exposure.
- Practice with easy targets first: Start with the Moon, Orion Nebula, or Andromeda Galaxy. These are bright and forgiving while you learn the controls.
- Join the community: Vaonis’ online forums and Facebook groups are great for troubleshooting and discovering imaging techniques.
By following these steps, you’ll unlock the full potential of the Vespera III or Vespera Pro 2—and enjoy the sharpest views of the cosmos that Vaonis has ever offered. Happy stargazing!
Related Articles
- Your Speech Patterns Could Be an Early Warning Sign for Dementia: What the Science Says
- 10 Shocking Facts About 'Slither': The Cult Horror-Comedy That Launched James Gunn's Career
- Containing Wildfires in Radioactive Exclusion Zones: A Step-by-Step Emergency Response Protocol
- The Science Behind Ghostly Encounters: How Infrasound Shapes Perceptions of Hauntings
- Unraveling Word2Vec: How a Simple Neural Network Learns Word Representations
- A Media Guide: Covering Ireland’s Historic Artemis Accords Signing at NASA Headquarters
- 10 Key Insights Into How a Single Protein Could Revolutionize Alzheimer’s Treatment
- AI for Defense: How Seven Tech Giants Are Partnering with the US Military on Classified Systems